Overview
This project portfolio page aim to record my contributions to the VolunCHeer project.
Our team was asked to enhance a command line interface addressbook for our software engineering project. We decided to morph it into a volunteer management system called VolunCHeer.
VolunCHeer is an open-sourced Command Line Interface (CLI) management application to help Volunteer Project managers easily keep track of their ongoing projects, volunteers, and beneficiaries. We aim to help our target users alleviate the hassle of managing multiple projects, beneficiaries, and volunteers in an efficient and effective manner.
My role was to implement a data extraction command, complemented by a mapping and sorting command. The following sections illustrate these enhancements in more detail, as well as the relevant sections I have added to the user and developer guides in relation to these enhancements.
My Role
My main task was to implement a data extraction command, complemented by filtered sorting commands. The following sections will help explain my work on the enhancements in greater detail, as well as the corresponding sections of the user and developer guides.
Summary of contributions
-
Major enhancement: added a Filtered Volunteer Export feature
-
What it does: This feauture allows the user to export a list of volunteers into a CSV file, after sorting the volunteers by certain chosen criteria. The commands used include:
-
map volunteers: Assigns points to all volunteers based on given criteria.
-
sort volunteers: Sorts the list of volunteers in descending order based on the points from the map command.
-
export volunteers: Exports the chosen particulars of the selected number of volunteers to a CSV file.
-
-
Justification: This feature dramatically improves the convenience of the product because:
-
Some projects might require a certain subset of volunteers. For example, teaching tuition to secondary school children would naturally be more fitting for students who have already completed that phase of education. The map and sort commands were also used in collaboration with team member Zhao Jun Ru (username: quinzzzzz) to help find the best volunteers to assign to projects.
-
Other co-workers might not have the VolunCHeer app installed, so this feature allows sharing in a more universal format.
-
Furthermore, the ability to choose which particulars to export allows the user to preserve the privacy of volunteers by only sharing required information.
-
-
Highlights: The map and export command required intensive and careful parsing in order to provide the functionality of allowing any subset of the possible parameters. Exporting also required a custom function to fit the data into a CSV-readable format.
-
Credits: The implementation of the order list is based on the code written for the person list in the Address Book Level 4 made by SE-EDU initiative.
-
-
Code contributed: All my work can be viewed here
-
Other contributions:
Contributions to the User Guide
These are the sections of the user guide related to my feature. It is also worth noting that I helped my team format the language of the entire User Guide. |
Filtering & Exporting
Assigning mapping index to each volunteer : map
We know that some volunteers suit a certain project better than others. To help with finding these volunteers, the map command assigns the volunteers with points 3, 2 or 1 according to the selection criteria that you set.
Format: map t/(POINTS)(CRITERIA) t/(POINTS)(CRITERIA) t/(POINTS)(CRITERIA)
Examples:
-
map y/3>18 r/2chinese m/1NILGives volunteers above the AGE of 18 3 points, RACE chinese 2 points and MEDICAL_CONDITION of NIL 1 point. -
map m/3NILOnly gives volunteers with no MEDICAL_CONDITION 3 points.
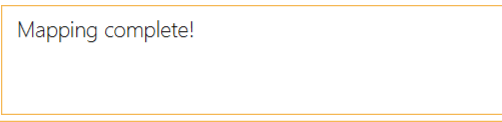
Upon executing a successful map command, the message on figure 12 will appear.
Sorting volunteers according to points : sort
After mapping, we can then sort the volunteers into order, with the most suitable volunteers being on top.
Format: sort
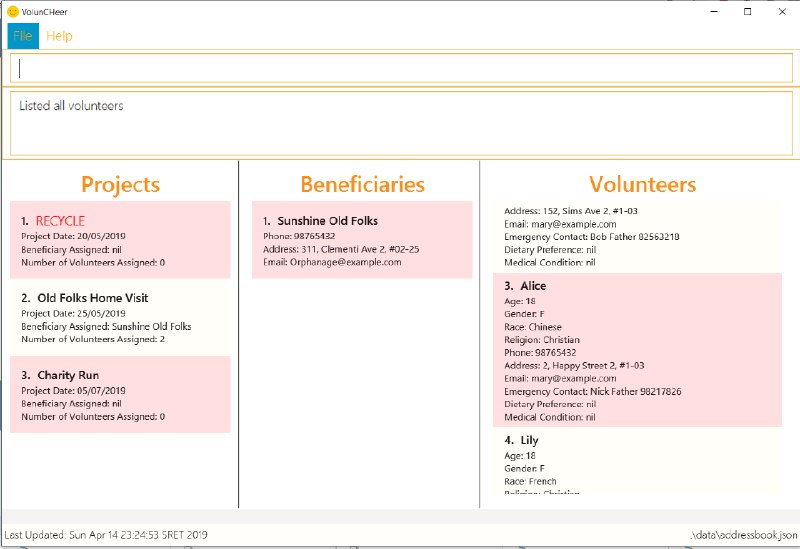
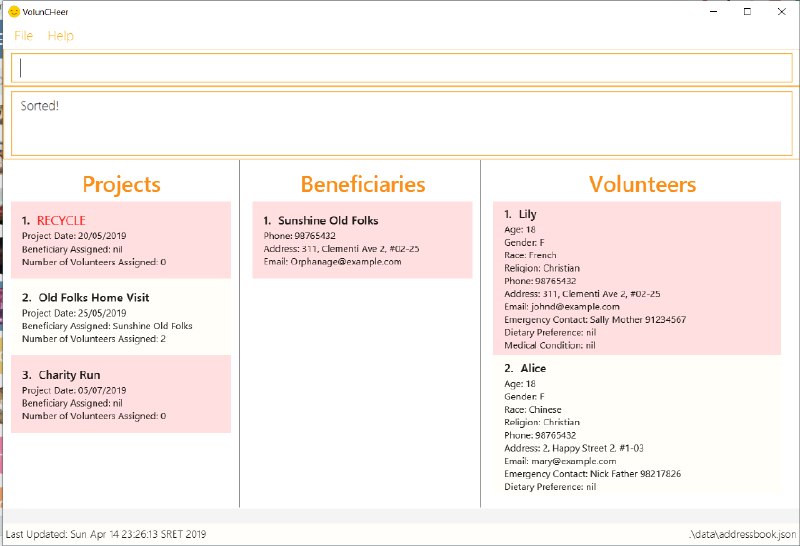
As can be seen in figure 13 Alice was previously at index 3. After sorting, she has shifted up to index 2 in figure 14.
Extracting multiple volunteers from sorted list : extract
Not everyone will have VolunCHeer, which is frankly their loss. Nonetheless, this command allows you share a list of certain volunteer particulars by extracting it into a Microsoft Excel file.
Format: extract NUMBER_OF_VOLUNTEERS t/PARTICULAR [t/OTHER_PARTICULARS]…
Examples:
*extract [1][20]
Extracts the first 20 volunteers in the sorted list.
*extract [5][15]
Extracts volunteer number 5 to 15 in the list.
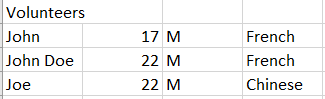
The Excel file will look like figure 15.
Contributions to the Developer Guide
These are the sections of the Developer Guide related to my task. They showcase my ability to clearly explain the technical documentation of my contributions to any new developers. |
Filtered Export feature
Current Implementation
To facilitate the filtering mechanism, a new points integer field is added to the Volunteer class:
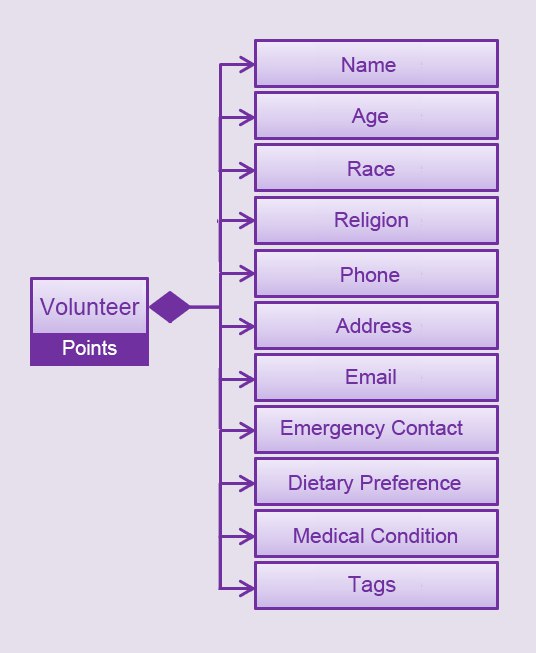
Points was implemented as a integer instead of a class for ease of access. Also, it is not directly influenced by
any input from the user, as input has been checked by the the other classes in Volunteer. Hence, no accompanying
methods are necessary.
This feature revolves around 3 commands:
-
mapCommand -
sortCommand -
exportVCommand
For the map command, the user inputs the specific criteria to map Volunteers on, as well as the points.
Upon execution of the map command, the following sequence diagram shows how the map command works:
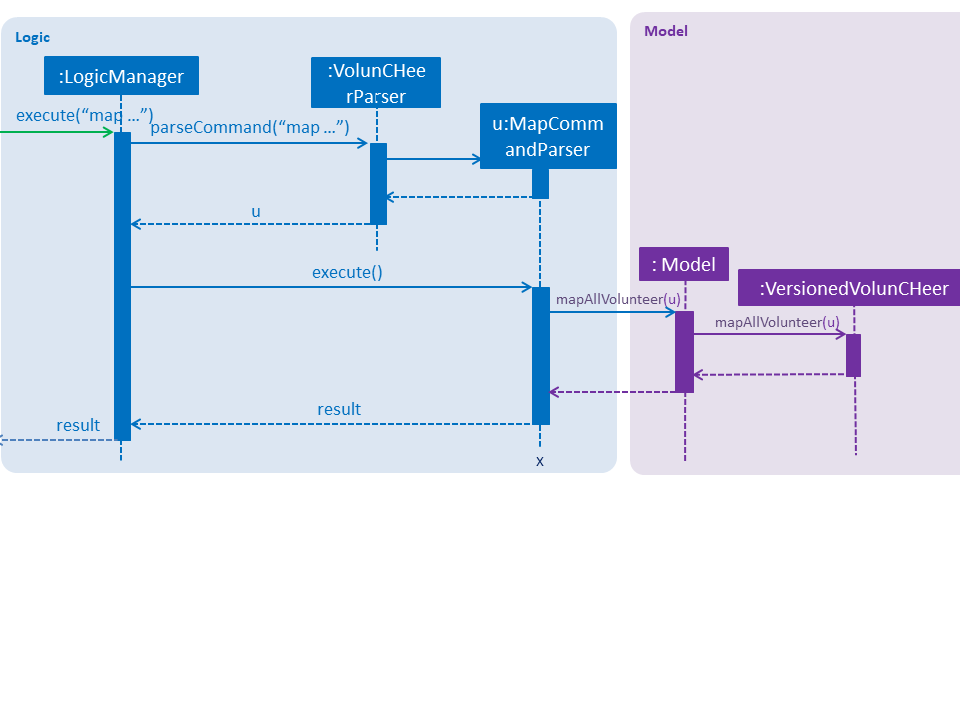
MapCommandParser will check the given arguments for correctness, such as proper points or valid comparator.
It then creates a MapObject and stores the given arguments in a Pair of <points, conditions> and passes it to MapCommand, which passes it to Model
by calling mapAllVolunteers.
Within the model, mapAllVolunteers() is as shown:
public void mapAllVolunteer(MapObject map) {
        versionedAddressBook.getVolunteerList().forEach(volunteer -> {
            volunteer.resetPoints();
            volunteer.addPoints(checkAge(map, volunteer));
            volunteer.addPoints(checkRace(map, volunteer));
            volunteer.addPoints(checkMedical(map, volunteer));;
        });
    }
The checkAge, checkRace and checkMedical methods check each Volunteer and
return the given points for that criteria,
which addPoints adds to them.
Sort Command
For the Sort command, the Model calls the UniqueVolunteerList internal sortByPoints method.
This method uses the standard FXCollections.sort on the internalList,
which immediately reflects in the UI.
    public void sortByPoints() {
        FXCollections.sort(internalList, (new Comparator<Volunteer>() {
            public int compare (Volunteer s1, Volunteer s2) {
                return s2.getPoints() - s1.getPoints();
            }
        }));
    }
The custom comparator sorts Volunteers in descending order of points.
Export Command
The exportV command writes certain parts of volunteers data based on provided crtieria.
It takes on various parameters such as [NUMBER OF VOLUNTEERS],
[PREFIX OF DATA REQUIRED 1][PREFIX OF DATA REQUIRED 2] … .
The ExportVolunteerCommandParser checks that at least 1 type of data and the number of Volunteers
is given. It then stores the prefixes in a list called prefixToBePrinted and returns the the list and the number of volunteers
as a Pair to ExportVolunteer.
The code snippet below shows how the main command is implemented.
File output = new File("Export.csv");
        List<String[]> volunteerData = new ArrayList<>();
        volunteerData = model.addData(numVolunteers, prefixToBePrinted);
        try (PrintWriter pw = new PrintWriter(output)) {
            volunteerData.stream()
                    .map(this::toCsv)
                    .forEach(pw::println);
        } catch (IOException e) {
            throw new CommandException("Error writing to file");
        }
A List of String arrays is used to store each line of Volunteer. The addData method goes through the Volunteer
list and collects the specified fields into a String array, which is appended to another List of String arrays
and returned. The toCsv method formats the data into CSV-friendly data.
Below are certain considerations made when designing the filtered export feature.
| Aspect | Alternatives | Pros (+)/ Cons(-) |
|---|---|---|
Sorting the internal volunteer list |
Using a SortedList wrapper around the unmodifiable list |
+ : Easy to implement. + Will not affect the actual data.
|
Using PrintWriter to write out data to CSV |
Using an open-source library such as openCSV to handle the writing. |
+ : Easier to understand and code for any new developers. + openCSV will handle special characters in data.
|